Projects: The Starting Point for HEDDA.IO
Projects are a crucial starting point in any Data Quality Management solution, and HEDDA.IO recognizes this fact. By organizing activities around specific projects, HEDDA.IO provides a clear and structured approach to Data Quality Management that is aligned with the needs of any organization.
The creation of a project is the initial step towards unlocking all of HEDDA.IO’s features. This is because a project encompasses Knowledge Bases, which consist of various elements such as Domains, Rule Books, Dataset Rules, Lookups, and more. In essence, the journey towards achieving Data Quality within HEDDA.IO begins with the creation of a project.
Create New Project
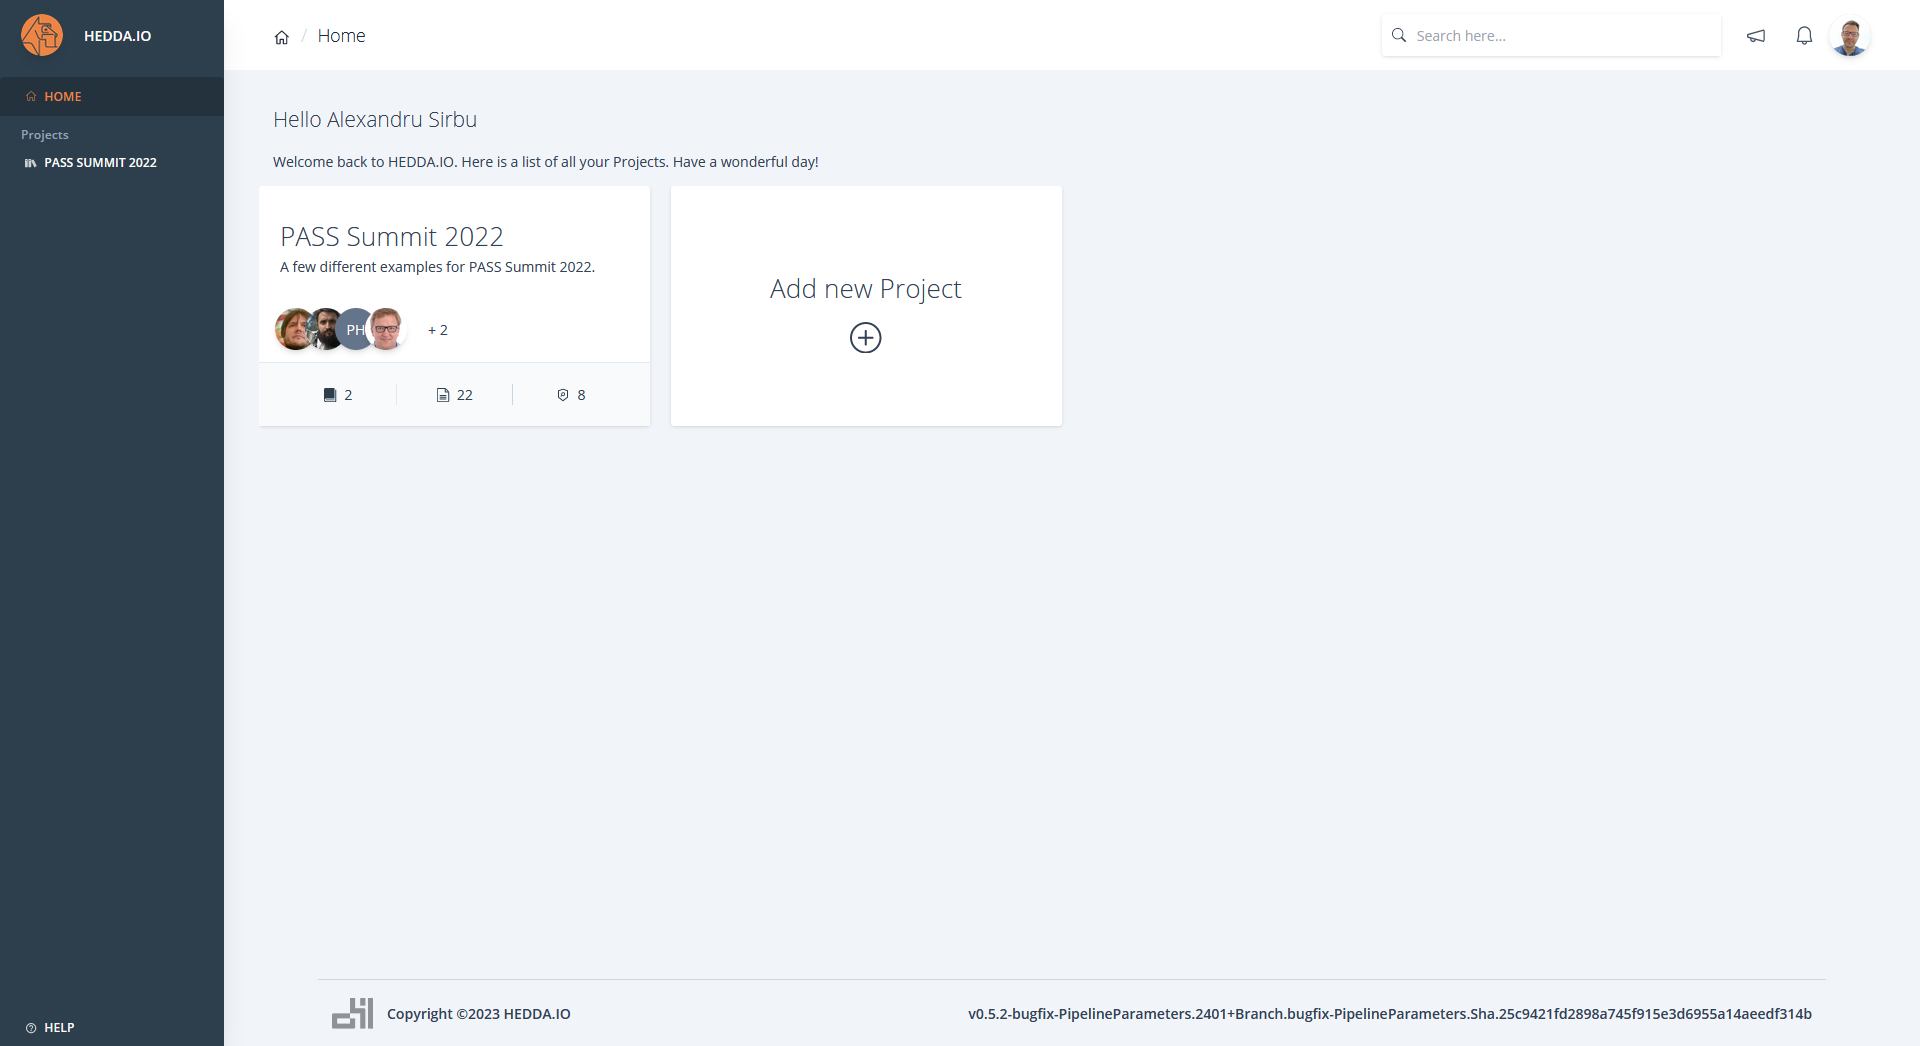
To initiate the creation of a project in HEDDA.IO, access the app’s Homepage and locate the “Add new Project” button situated in the middle of the page. Upon clicking the button, a panel will open, providing three input fields: name, description, and project owner. Although the owner of the project is automatically populated, you can specify an alternative individual from your organization. After entering the project name and a comprehensive description, save your input by clicking the “Save” button located at the bottom of the panel. You now have your own project in HEDDA.IO.
If you need to modify the project name, description, or owner, locate the project in the project list and click on it to open the project dashboard. Next, click the “Edit” button located in the top-right corner, which will display the “Edit Project” panel. After adjusting the input fields, click the “Save” button at the bottom of the panel.
The process of creating a project in HEDDA.IO is demonstrated in the accompanying video.
Manage Users
Now, let’s explore the subsequent steps required to set it up.
One of the functionalities, known as “Manage Users,” empowers the project owner to add new Users to the project and assign specific permissions to them. This can be accomplished by selecting the “Manage Users” button on the right-hand side of the project panel, which will open the “User Permissions” panel. From there, you can input the email address or name of a User within your organization or Azure Active Directory, choose one of the three permission levels (Read, Write, or Manage), and then click “Save” (provided the button isn’t grayed out). If the button is grayed out, it indicates that the specified email address or name couldn’t be matched with any existing User in your organization. If the permissions are successfully added to a User, their name will appear on the list of Users with permissions, located above the input fields.
To modify a User’s permissions, click on the pen icon, or to revoke their permissions, click on the trashcan icon. See the video below for a demo of the described procedure.
Alerts
One of the many noteworthy features available within HEDDA.IO that can be setup in the project panel is the Alerts functionality.
Alerts enable Users to set up notifications for events or triggers within their data. These notifications can be configured to be delivered via various channels, such as Email, HTTP Webhook, DevOps, Azure Event Hub, Event Grid, Slack, Teams, and Webex. Alerts can be utilized to keep Users informed of significant quality issues and facilitate prompt action to prevent problems from escalating. Furthermore, Users can customize their alert settings to align with their specific requirements and thresholds, ensuring that they are notified only when crucial events occur.
Click here to read more about HEDDA.IO Alerts.
External Connections
The project panel also offers the option to configure External Connections for Lookups, which allows Users to match and merge datasets from different sources based on predefined criteria or rules. This feature enables Users to easily identify duplicate or incomplete data, effectively managing and maintaining their data for informed decision making. To facilitate data source connectivity, the External Connections feature was designed to allow Lookups in Azure Data Lake or SQL Server.
More details on how to set up these connections will be provided in a forthcoming article.
